

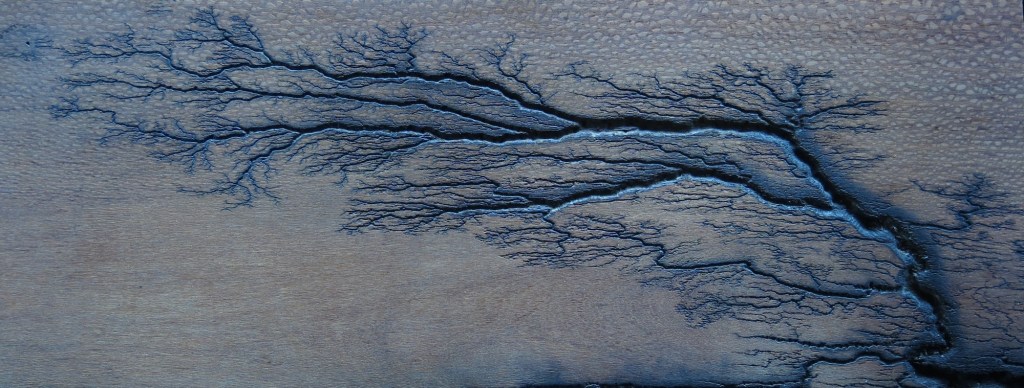
At one point or another you’ve seen Lichtenberg figures in the context of wood burning. You take a piece of damp wood, add a little saltwater to help it conduct, connect a high-voltage power supply, and a current burns its way through the wood, leaving behind these branching, tree-like patterns. They’re beautiful, but have also killed the most people who play with high voltages.
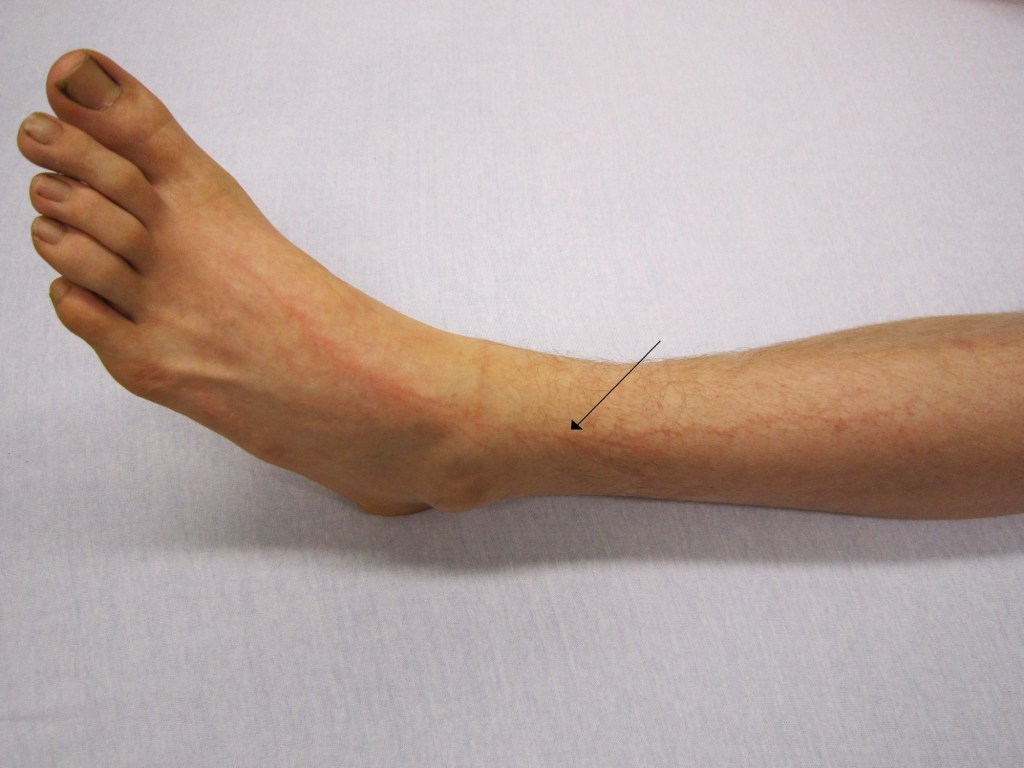
Then you may have seen the same treelike patterns that form on someone’s skin after being struck by lightning. Blood vessels burst as current runs through the upper dermis and lower epidermis area. It leaves behind a perfect, bruised map of where the electricity forced its way through the body! Then it fades away up in a couple days as the body heals.
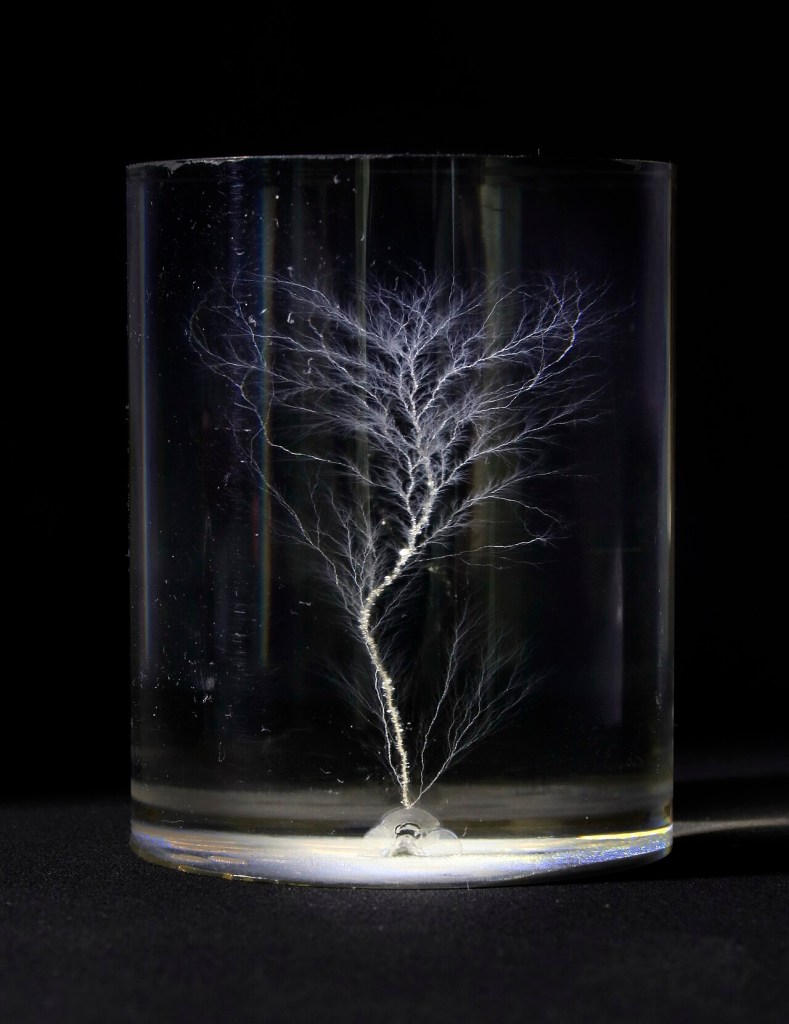
You may also have seen the figures preserved in 3D. Take a big chunk of acrylic and blast it with a torrent of electrons using a linear accelerator. You’re stuffing the plastic full of tiny, angry, negative charges. But plastic is an insulator, so the electrons are trapped in a microscopic traffic jam, desperately wanting to get out and away from each other, but with nowhere to go.
You take a sharp metal spike, hook it up to earth ground, and give it a good knock with a hammer right into the block. Suddenly, you’ve given those trapped electrons a way out. They all come rushing at once, tearing through the plastic, into the spike, and straight back into the earth where there’s room for them to be. And in that quick violent movement, they melt the plastic, leaving millions of tiny branching channels.
When it’s all over, you’re left with this magnificent, frozen lightning bolt. A perfect curiosity piece.
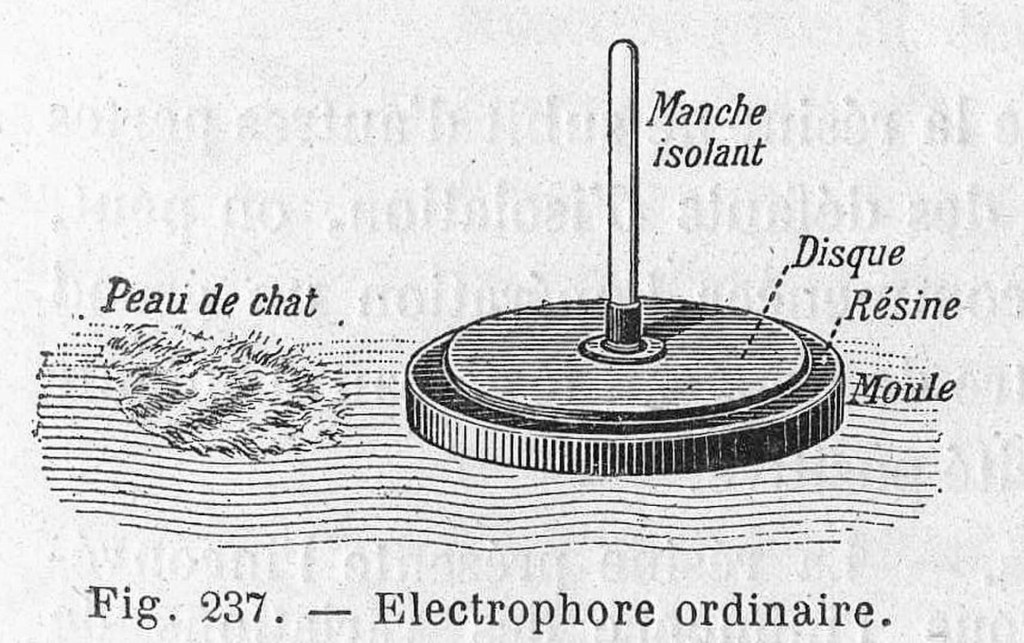
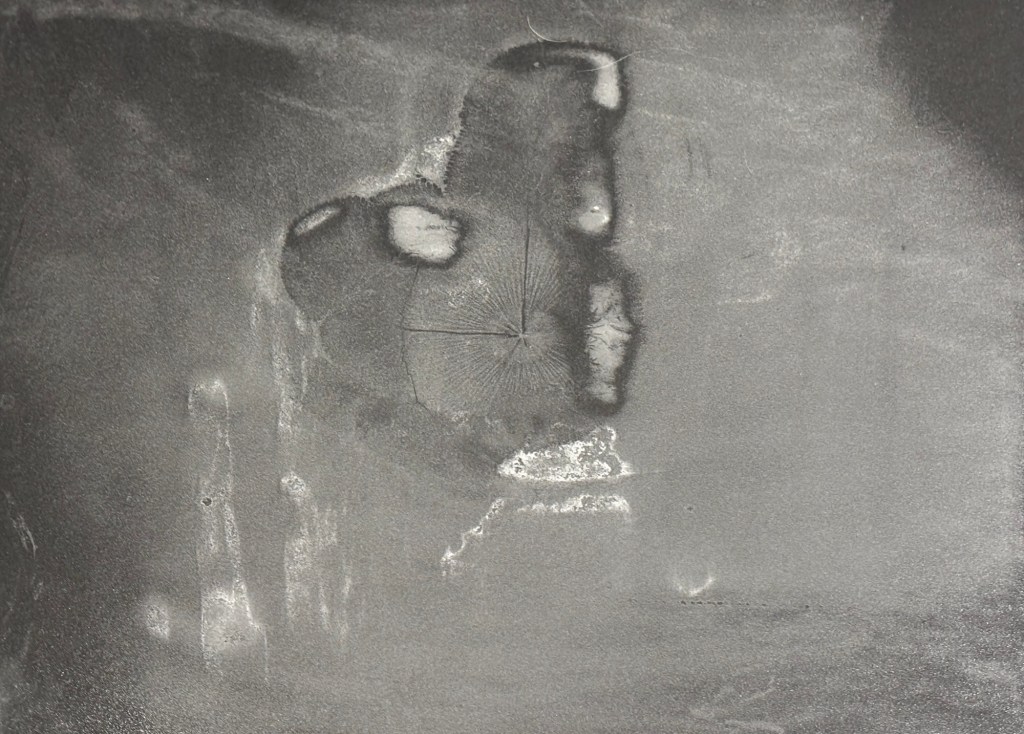
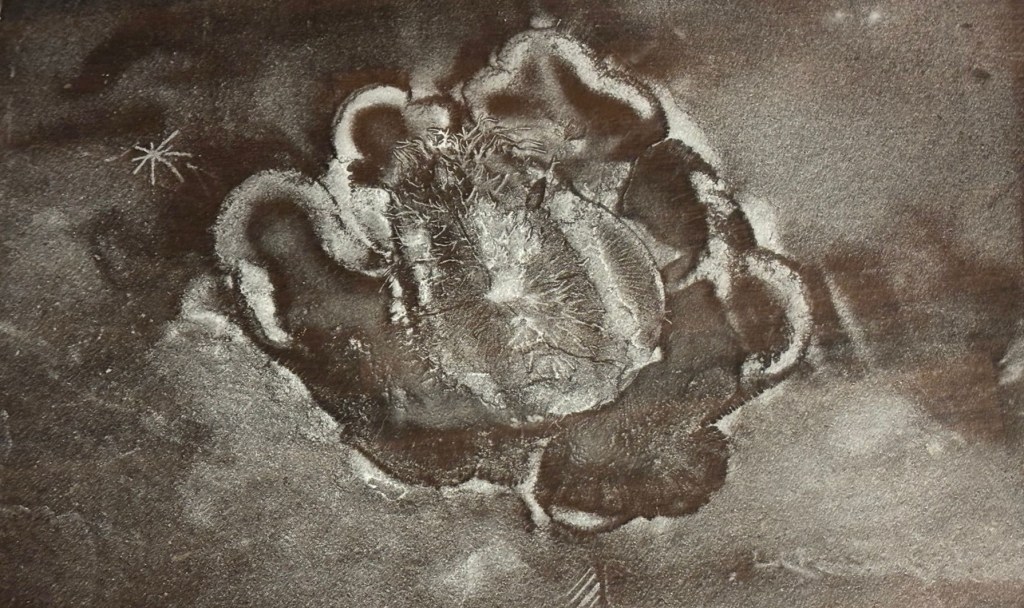
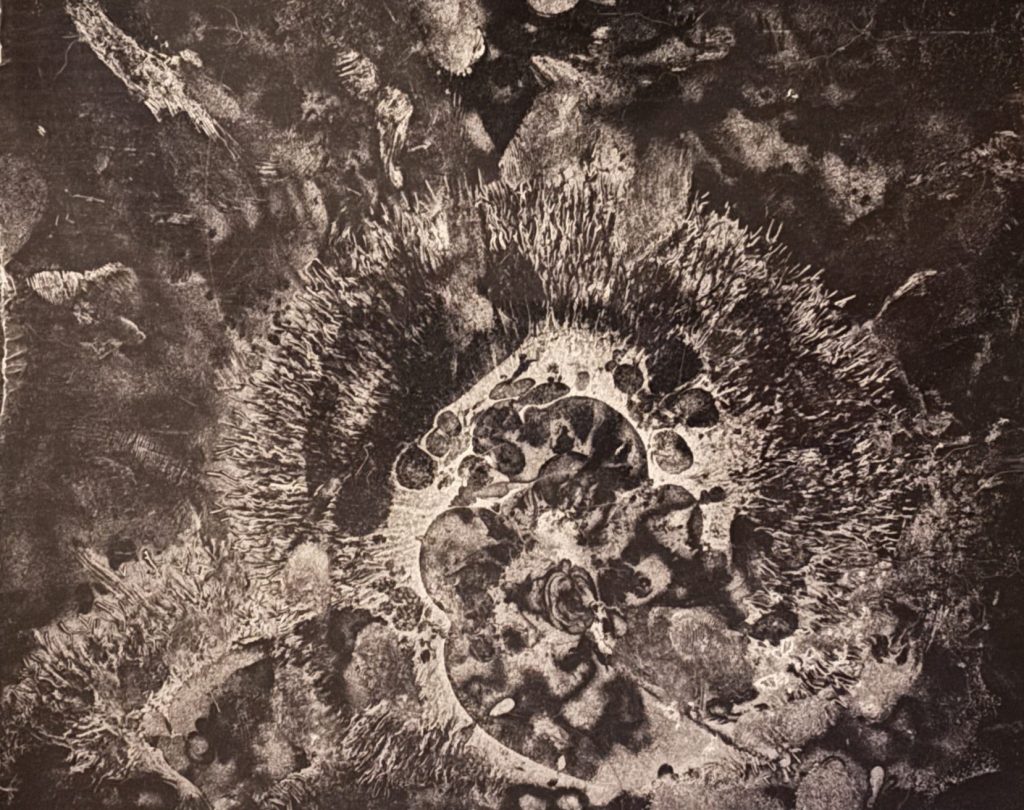
But for this post the want to talk about the figure method that for some unknown reason to me was more difficult to learn about. The figure actually discovered by Georg Christof Lichtenberg. he noticed resinous dust from his workshop settling on the resin of an Electrophore’s base. Instead of a uniform coating, the dust gathered into these incredible, intricate patterns.
Setup:
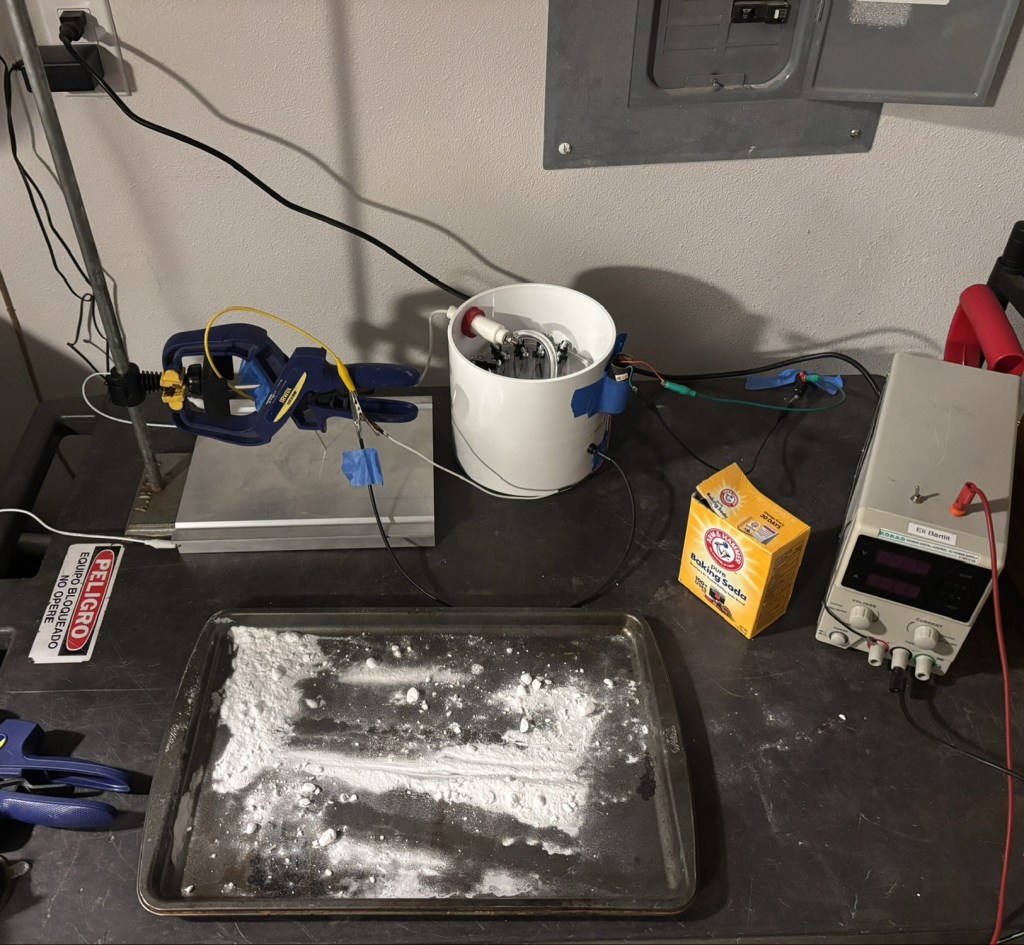
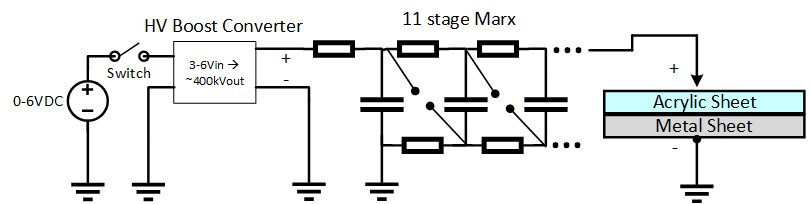
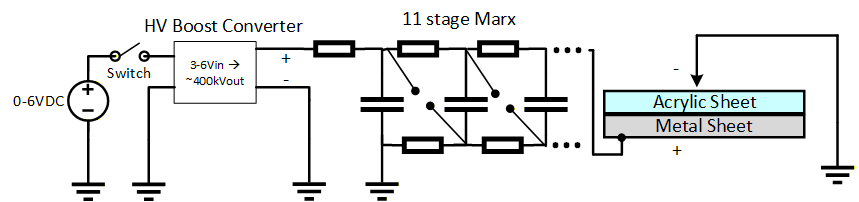
- 11-stage ladder-type Marx (substituting where others use an electrostatic generator)
- High voltage boost converter (unknown brand/specifications)
- 8.5”x11” acrylic sheets (5mm thick)
- Baking soda
- Baking sheet for catching excess powder
- Krylon workable fixative
Procedure:
Place acrylic plate onto metal surface
- Setup per circuit diagram
- Place acrylic plate onto metal surface
- Setup power supply output voltage until it’s reasonably controllable
- enable power supply
- As soon as a single discharge occurs, turn off power supply
- Ensure Marx generator is fully discharged (I used an insulated shorting wire)
- removed acrylic plate
- powder acrylic plate with baking soda
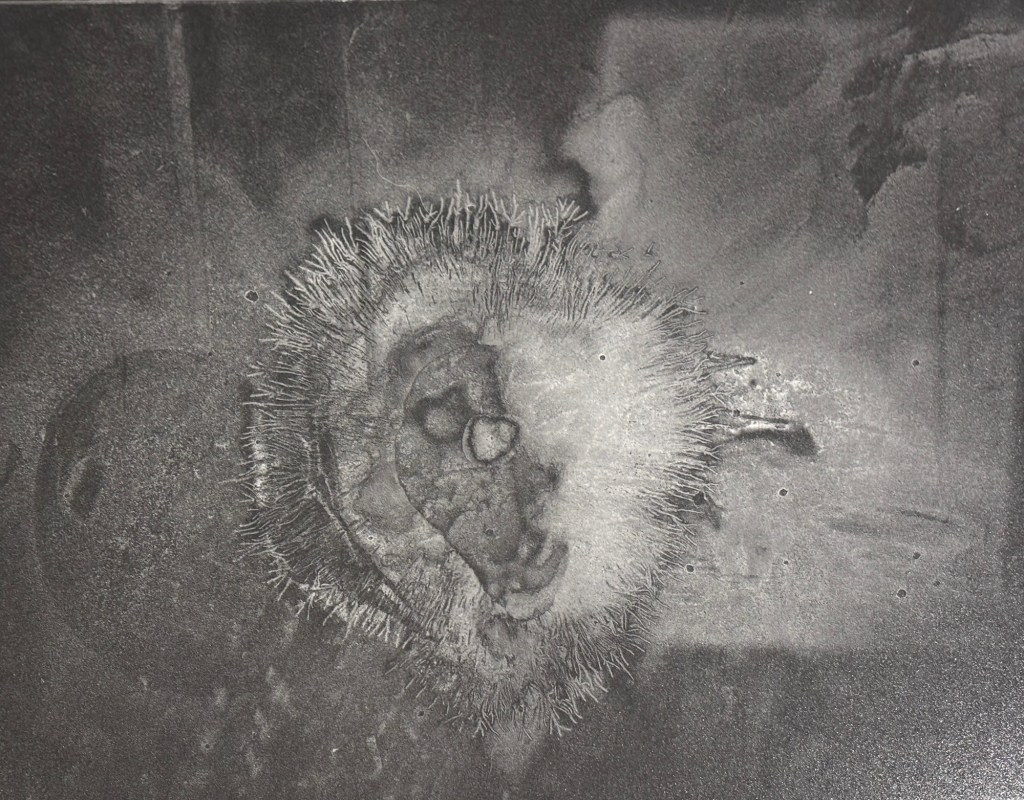
- Preserve charge distribution pattern (Lichtenberg figure) with Krylon workable fixative by adding a light layer, then adding another layer after the first one has dried. Can cause deformation by dissolving baking soda powder if applying too heavily.
- Place entire Acrylic plate onto black paper background for better visibility.
Extra stuff
 Eli Bartlit


Leave a comment